How to Export Your Zenmoney Data: CSV and Moving Apps
Where to find Zenmoney's CSV export, how to open the file in Excel without garbled text, and how to move your records to another app without any files.
· 6 min read
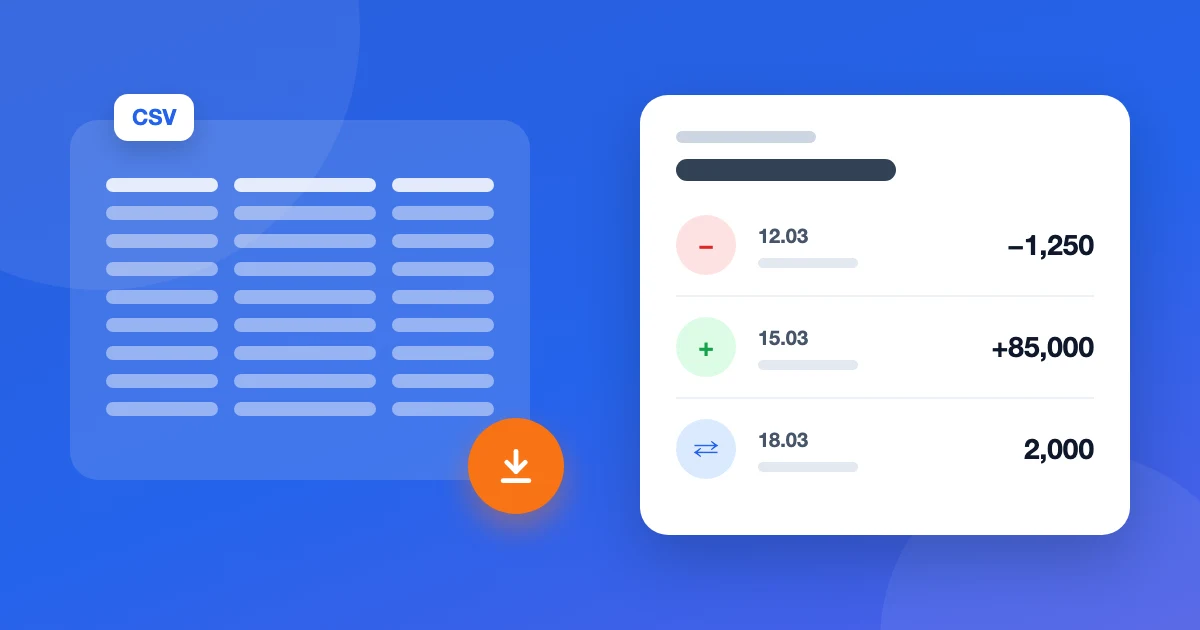
People usually export their data from Zenmoney for one of three reasons: to keep a backup just in case, to dig into spending in Excel or Google Sheets, or to move to another app. The first two need a CSV file. The third often doesn't: some apps pull the data straight from Zenmoney. Here are all the options.
Option 1. CSV export from the web version
The web version on a computer is the easiest place to export from — it has a dedicated export item.
- Open zenmoney.ru in your browser and sign in.
- In the top menu, open More → Export («Ещё» → «Экспорт» in the Russian interface).
- Pick the period and, if you need to, the accounts. For a full backup, take everything from the day you started tracking.
- Download the file and keep it somewhere safe: cloud storage or an external drive.
If the item isn't where you expect it, look in the account settings — the interface changes from time to time. Don't bother hunting for it in the mobile app; the web version is quicker.
What's in the file
The CSV is a table of transactions: date, amount, account, category, payee, comment. Transfers between accounts and currency exchanges usually take one row with two amounts: what left one account and what arrived on the other.
It helps to know what the export doesn't contain. It's a list of transactions, not a full copy of your account. Budget settings, the schedule of planned payments and bank sync rules don't make it into the table. If you're moving to another app, you'll have to set them up again — unless you use a direct import through the API, covered below.
Opening the CSV in Excel and Google Sheets
Google Sheets. File → Import → Upload and pick the CSV. Sheets detects the delimiter and encoding itself, so this is usually the painless route.
Excel. Double-clicking the file sometimes turns Cyrillic text into gibberish and squeezes every column into one. Instead:
- Open a blank workbook.
- Data → From Text/CSV and pick the export.
- In the preview, set the encoding to UTF-8 and choose the delimiter — semicolon or comma, whichever the file uses.
- Click Load.
One more detail: if your Excel uses a comma as the decimal separator, it may read amounts like 1234.56 as text or a date. If that happens, click Transform Data in the same import window and set the amount column to Decimal Number with the English locale.
What to do with the export
- Backup. Export the whole period once a quarter and put the file in the cloud. If something happens to the account, your history is safe.
- Your own analysis. A pivot table by category and month shows in five minutes what standard reports don't — say, how grocery spending changed year over year.
- Before deleting the account. If you've decided to leave Zenmoney, export first and delete second.
Option 2. Through the Zenmoney API (if you're comfortable with code)
Zenmoney has an open API, and GitHub has plenty of scripts that export data to CSV or your own database. That's handy if you want regular automatic exports.
One security caveat: some of these tools ask for your Zenmoney login and password. Only give a finance app's password to a third-party script if you've read its code or run it on your own machine. Tools that use the official Zenmoney sign-in window (OAuth) never see the password and are the safer choice.
Option 3. Move to another app without a CSV
If you're exporting in order to move, a CSV isn't the most convenient route. Every app expects its own columns, so the file needs reshaping by hand — and, as above, the CSV leaves out planned payments and budgets.
Buddzy imports from Zenmoney directly through its API:
- Sign up for Buddzy. The first-run wizard offers the import right away.
- Sign in to Zenmoney in its own window. Your login and password are entered there and never reach Buddzy.
- Choose what to bring over: balances only (accounts, categories, tags and payees, to start fresh) or all data (plus the full transaction history, planned payments and budget).
The import runs in the background and usually takes under a minute. It's free on every plan, and the Free plan's limits don't apply to it, even with thousands of transactions. What comes over and how is explained on the Zenmoney import page.
To be upfront: you can't upload Zenmoney's CSV file itself into Buddzy. Buddzy's CSV import only accepts its own template. For Zenmoney, use the direct import — it brings over more data and skips the file wrangling.
FAQ
Can I export Zenmoney data from my phone? The web version is the simplest way: open zenmoney.ru in a browser, or on a computer if the phone is awkward.
Will my history survive if I delete my Zenmoney account? No, so export or move your data to another app first, and delete the account after.
Why does Excel show strange symbols instead of text? It opened the file in the wrong encoding. Import it through Data → From Text/CSV and choose UTF-8.
Do planned transactions come over in the CSV? No, the CSV only has transactions that already happened. Planned payments come over only with a direct import, such as Buddzy's "All data" mode.
Will currency amounts in the export be right? Each transaction is stored in its account's currency, so the balances add up. Converting to a main currency is up to the app or your spreadsheet — we covered how to do it properly in the guide to tracking expenses in multiple currencies.
The short version
For a backup or your own analysis, export a CSV from Zenmoney's web version and open it through import rather than a double-click. To move to another app, look for a direct import: it brings planned payments and the budget, which the CSV leaves out. If you're deciding where to go, see our Zenmoney vs Buddzy comparison.
Read next
 ArticleMultiple currencies
Zenmoney vs Buddzy: an Honest Budget App Comparison
How Zenmoney and Buddzy differ on bank sync, multiple currencies, budgets, family sharing and the free plan — who each one suits and how to switch.
· 7 min read
 GuideMultiple currencies
Budgeting for Digital Nomads Paid in USD
Paid in dollars, spending in a new currency every few months? A simple budget for digital nomads: buffers in USD, conversion in batches, limits that follow you.
· 6 min read
 ArticleMultiple currencies
YNAB Alternative for Multiple Currencies
YNAB has one currency per budget. If your money is in dollars, euros and a local currency, here's what to switch to and how to move without losing the method.
· 6 min read